Complete the setup checklist
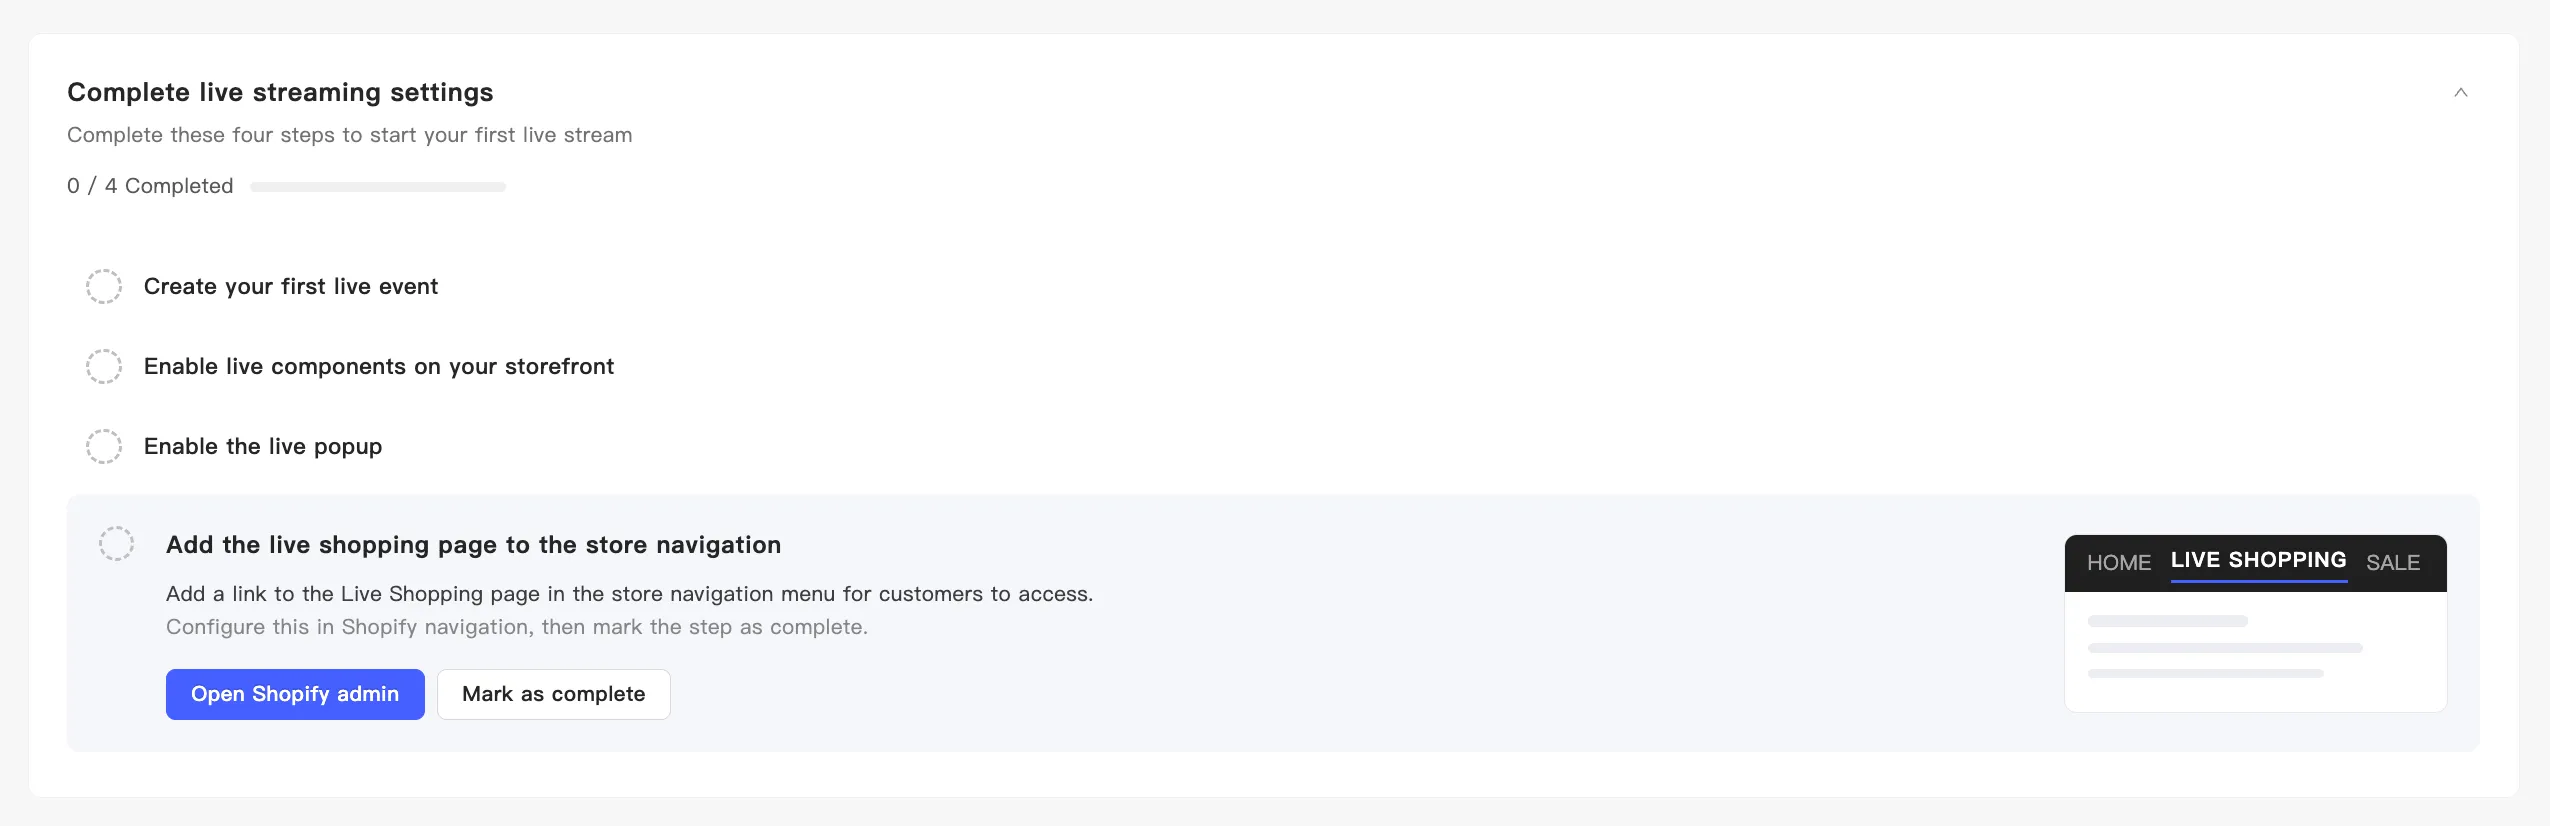
After you install MaxxShow, a Complete live streaming settings checklist appears at the top of the home page. Work through the four steps to run your first broadcast.
The checklist shows your progress at the top. Expand a step and you get two buttons: one takes you where the work happens, the other is Mark as complete. The first three steps tick themselves once MaxxShow detects the result. MaxxShow cannot detect step 4, so mark that one yourself.
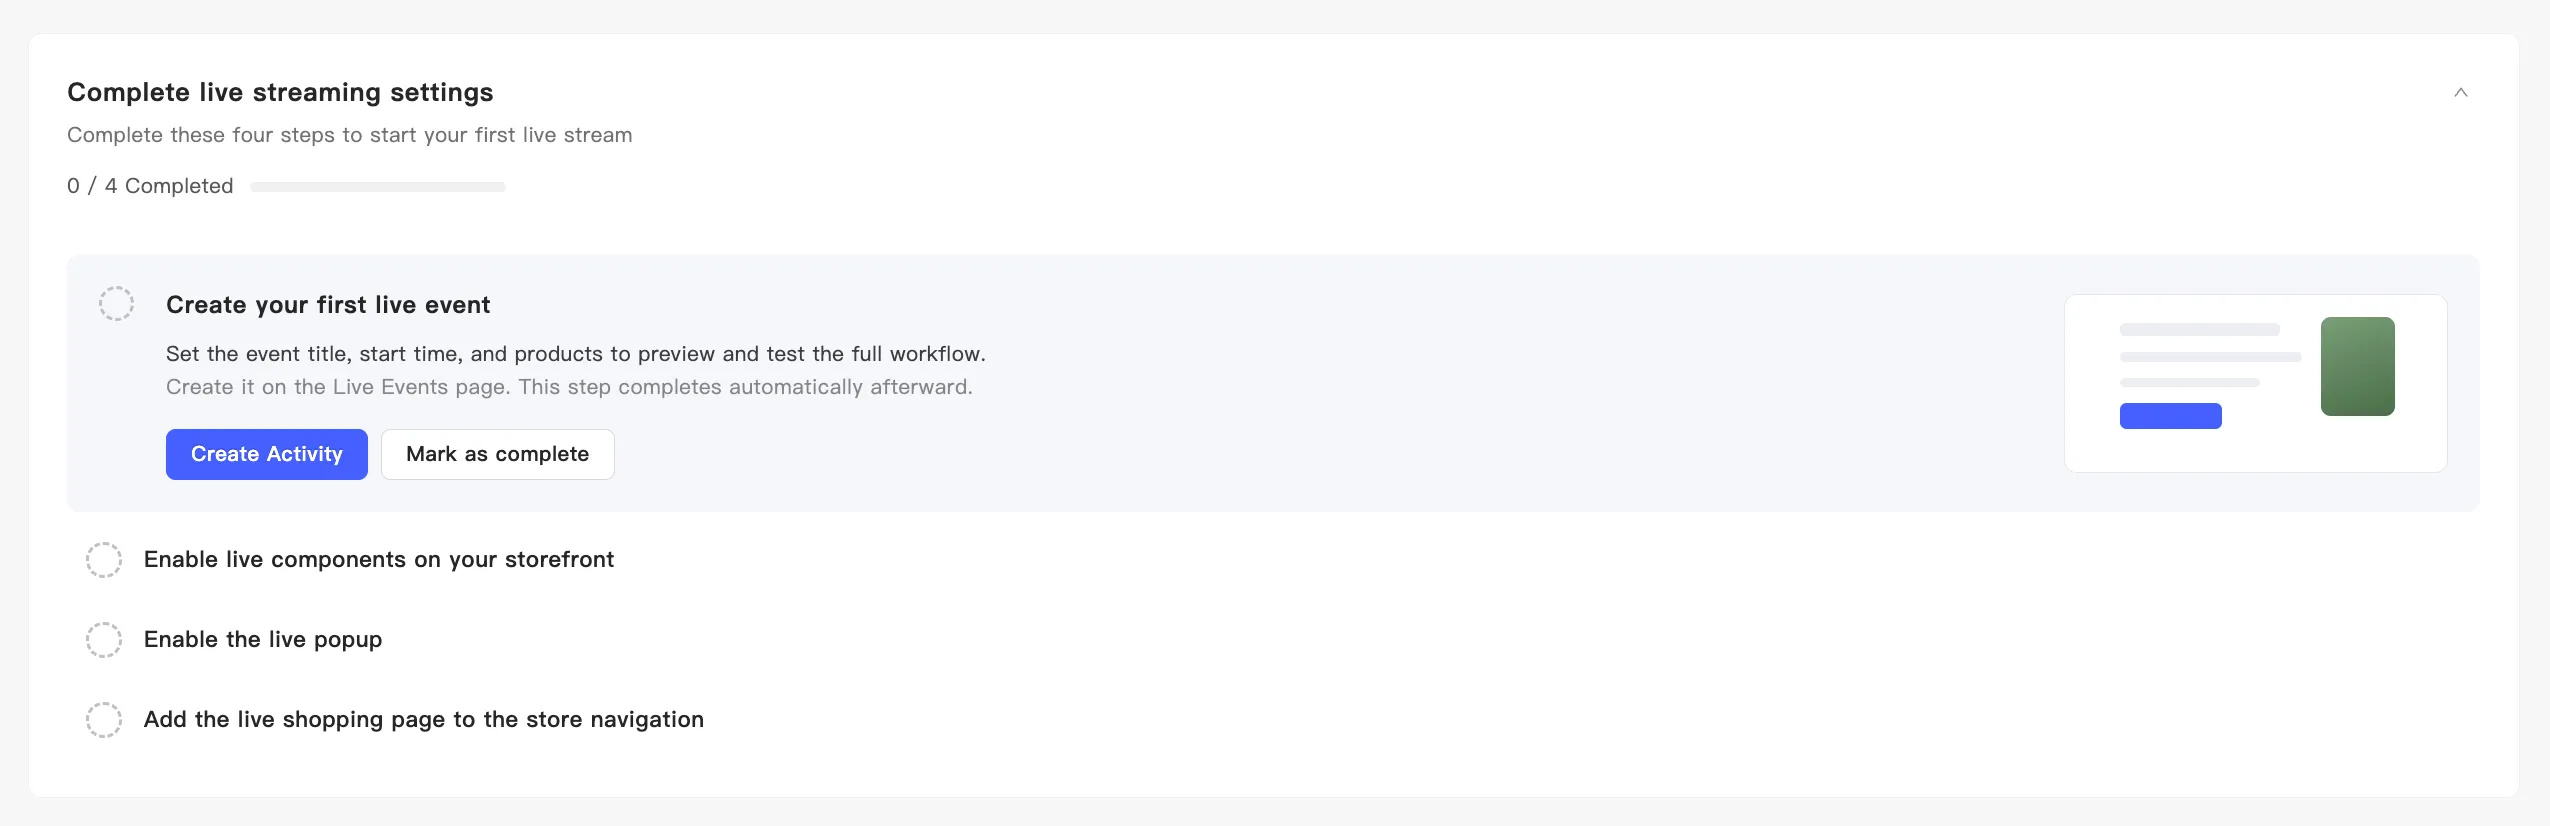
1. Create your first live event
Section titled “1. Create your first live event”Set the title, start time, and the products to show. You need an event before you can preview or test anything.
Click Create Activity to open the events page and create one. This step completes on its own once the event exists.
2. Enable live components on your storefront
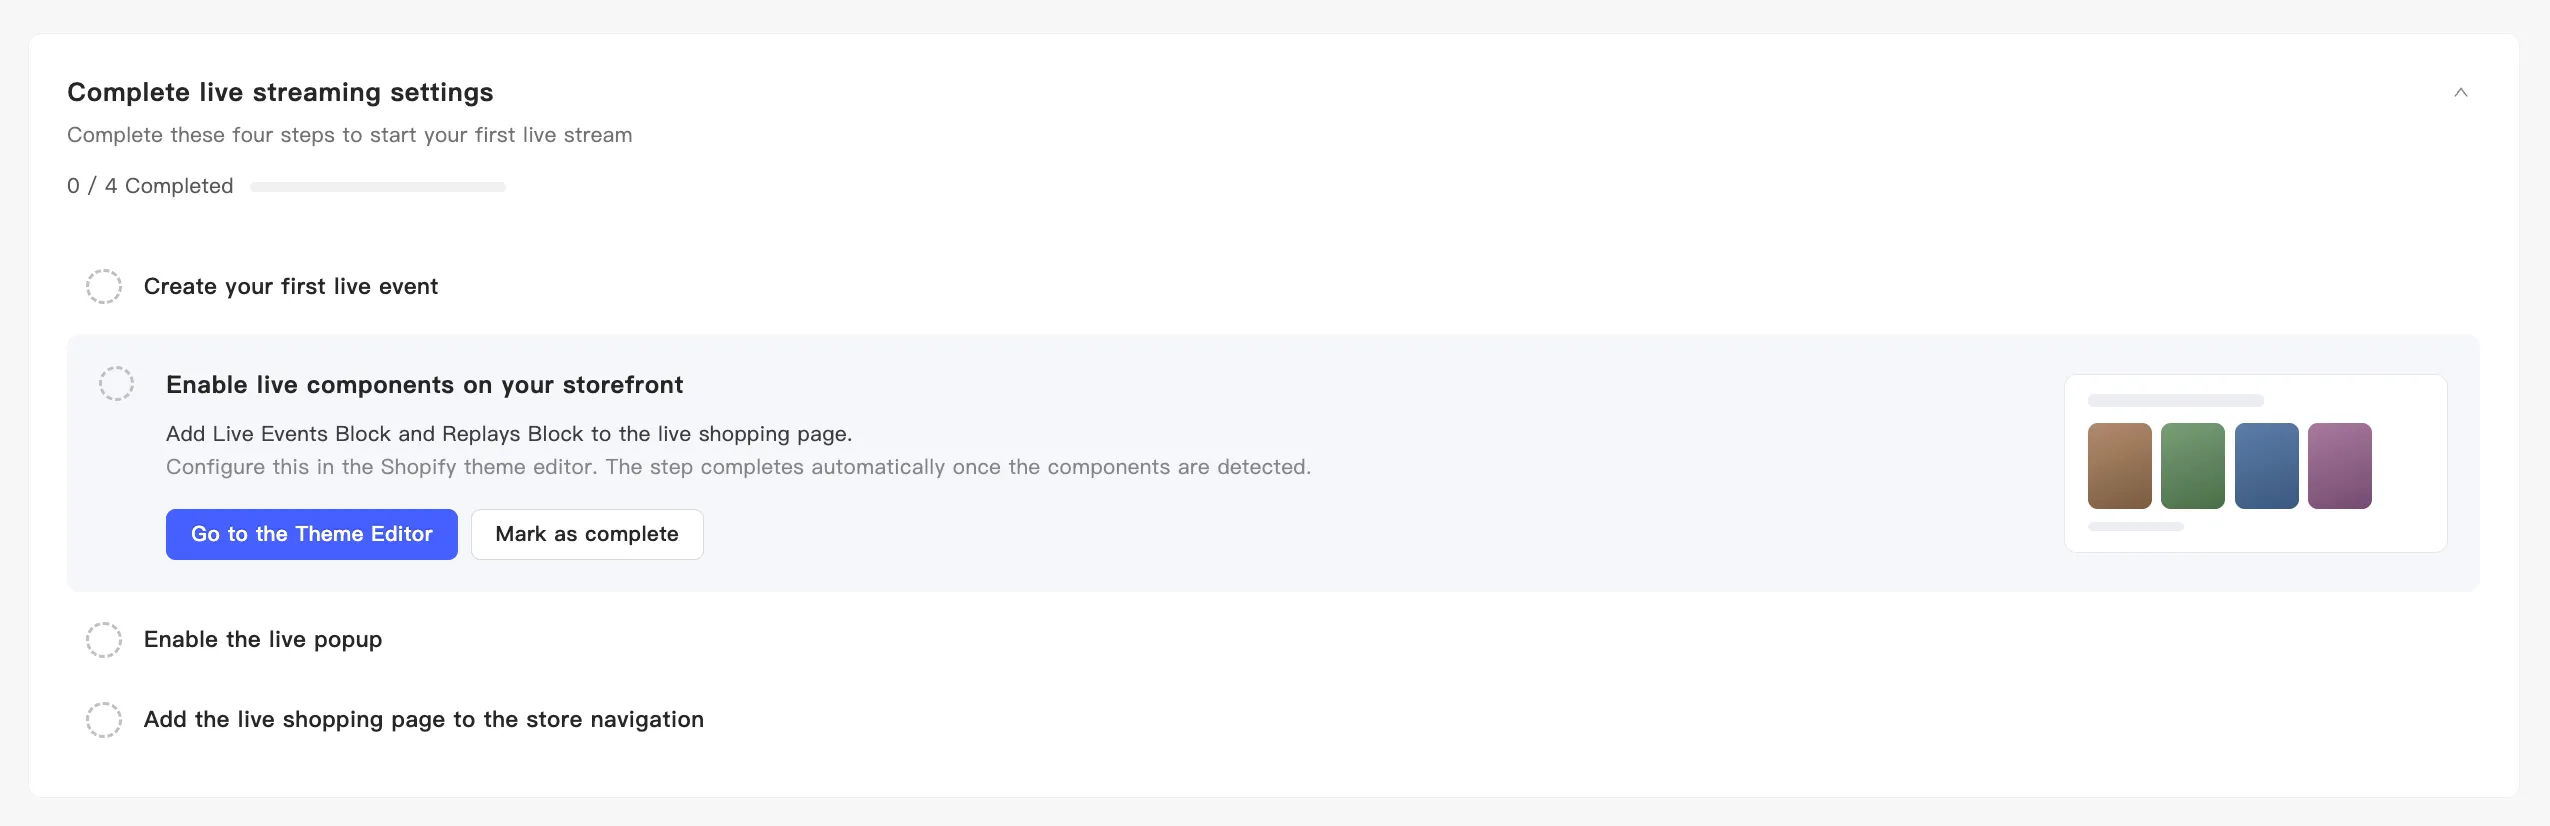
Section titled “2. Enable live components on your storefront”This adds the Live Events Block and the Replays Block to your live shopping page.
Click Go to the Theme Editor and add both blocks there. The step completes once MaxxShow detects them.
3. Enable the live popup
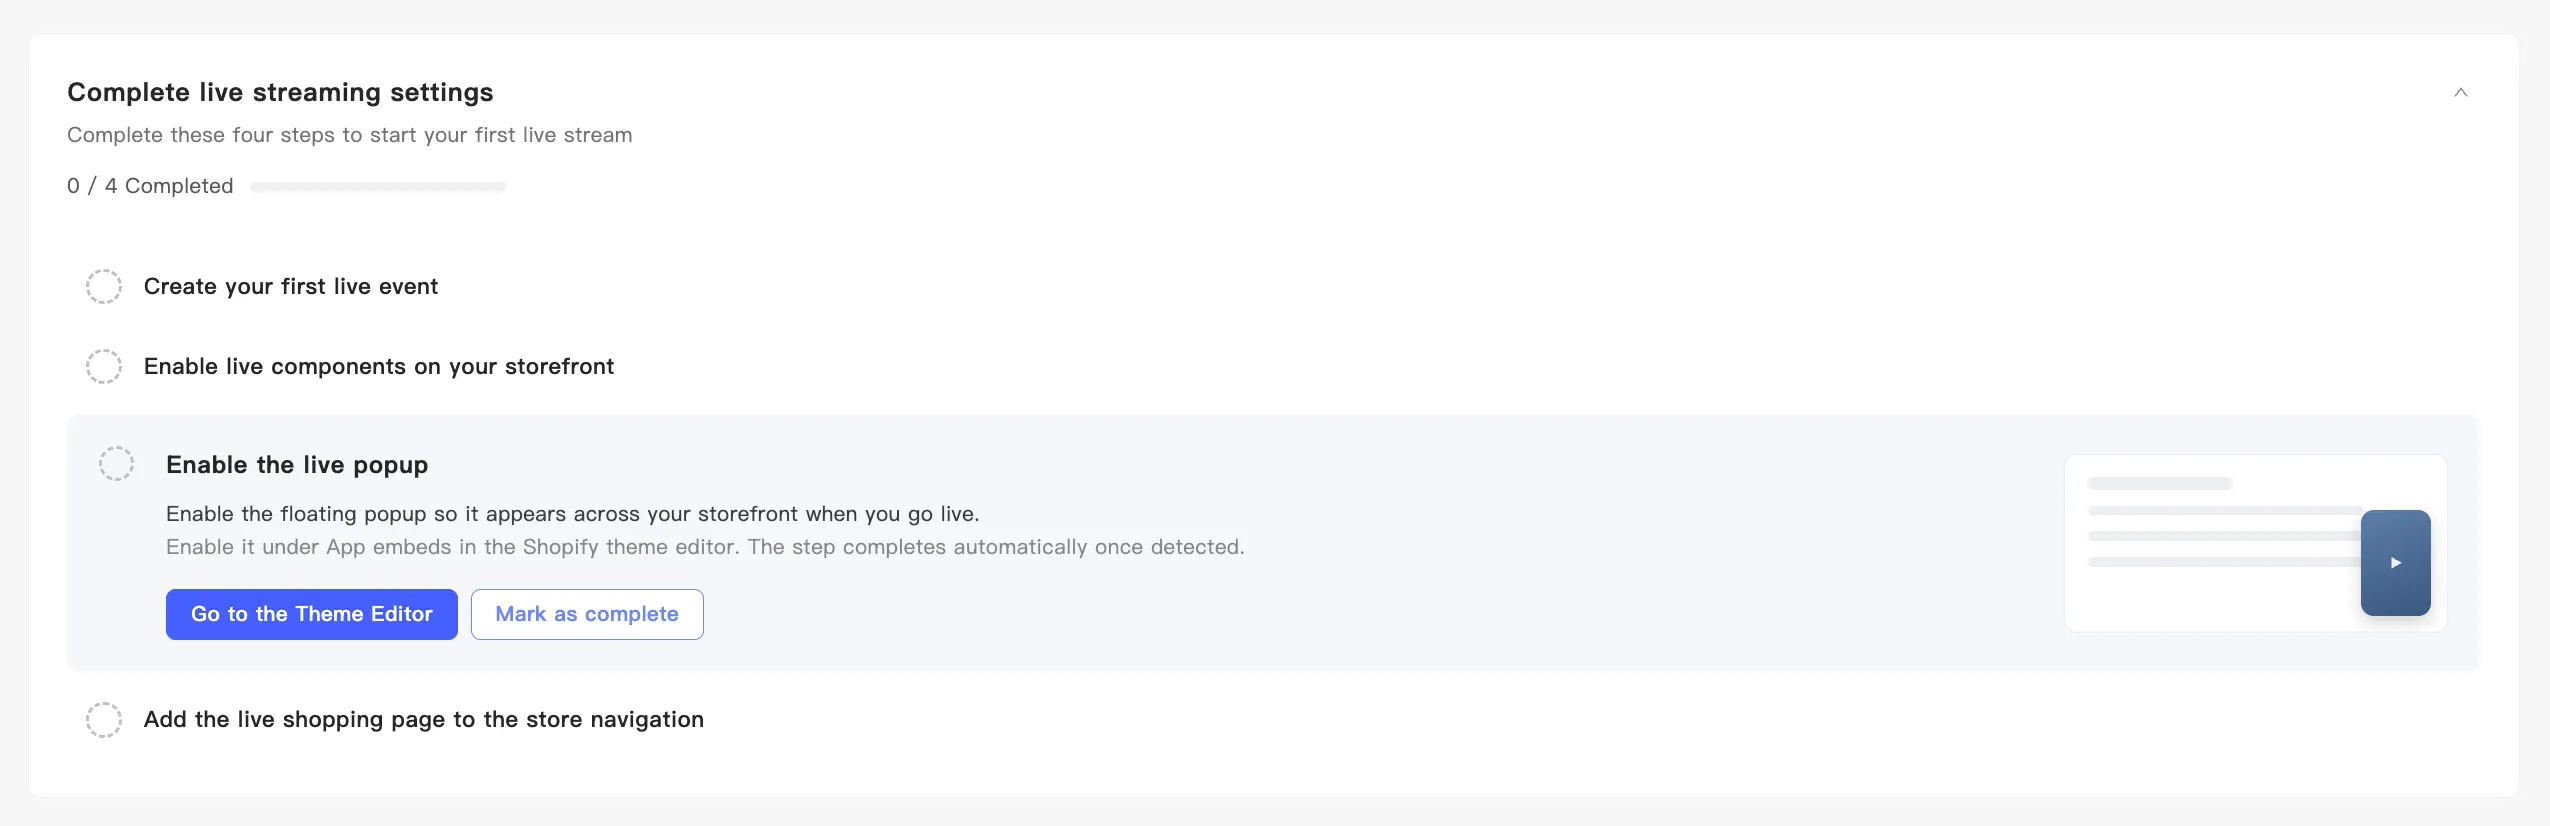
Section titled “3. Enable the live popup”This turns on the global floating pop-up. It appears on every page of your store while you are broadcasting.
Click Go to the Theme Editor and turn it on under App embeds. The step completes once MaxxShow detects it.
4. Add the live shopping page to the store navigation
Section titled “4. Add the live shopping page to the store navigation”This puts a link to your live shopping page in the store menu so customers can reach it.
Click Open Shopify admin and edit the navigation there. MaxxShow cannot detect this one, so click Mark as complete when you are done.